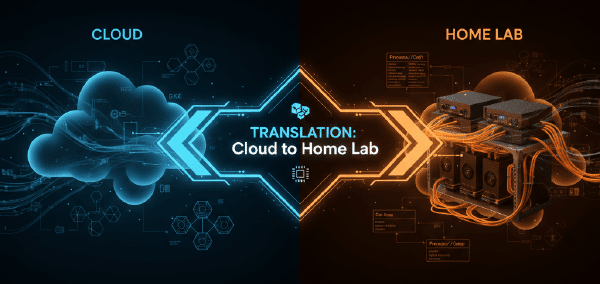
This is Part 2. If you need the cloud-to-homelab translation and requirement framing, read Part 1: From Cloud Sizing to Requirements first.
When you architect a Kubernetes cluster, you don’t think about heat dissipation or power consumption. You think in abstractions: N2 instances, vCPUs, memory tiers. Click, deploy, bill. The infrastructure vanishes behind APIs and Terraform declarations. But the moment you decide to build that same cluster in your homelab, those abstractions collapse into very real decisions: which CPU, how much RAM, what kind of storage, and critically, how much will this cost me in electricity every month?
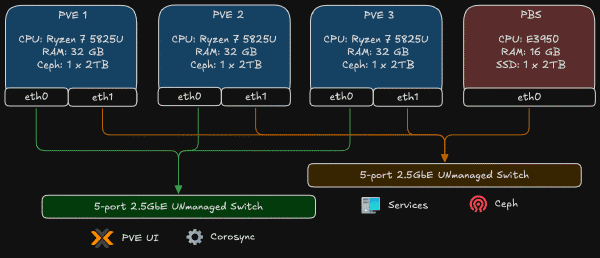
I love diagrams, but diagrams don’t wire cables for me. In this post I will show the physical mapping, the Proxmox bridge pattern I used, the OPNsense management model, and the first firewall policy I used to protect the lab. The network was already in place; below I explain what I did to build and secure it.
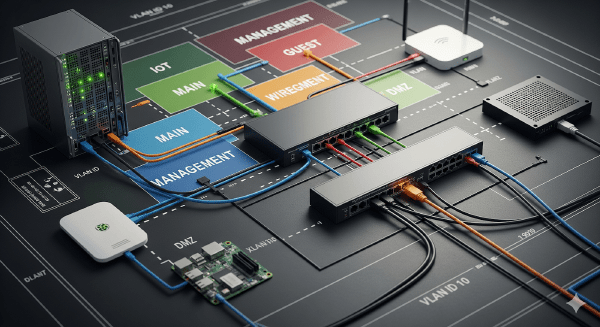
Hey there! In my last post, I shared why I’m starting this homelab journey. Today I’m taking it a step further: I’m rebuilding my home network from a simple, flat LAN into a segmented, security‑first setup … very similar to how Google Cloud designs hub‑and‑spoke networks. If you’re new here, you might want to start with my introduction: Why not a homelab?
Hey there! If you’re reading this, you’re about to embark on an adventure with me that I never thought I’d start.