
In my last post, The Four-Repo GitOps Structure for My Homelab Platform, I laid out the architectural blueprint for managing my homelab like a production environment. Building on the automation I detailed in my popular post, Need for Speed: Automating Proxmox K8s Clusters with Talos Omni, we now have a cluster ready for a production-grade CNI. Now that we have a solid GitOps foundation and a running Talos Kubernetes cluster, it’s time to address a critical component: networking.
Choosing a Container Network Interface (CNI) is one of the most important decisions you’ll make when setting up a Kubernetes cluster. It dictates how your pods communicate with each other, how you enforce security policies, and how you observe network traffic. In an enterprise environment, this choice has significant implications for performance, security, and scalability. So, why should a homelab be any different?
After careful consideration and drawing from my experience in building enterprise platforms, I chose Cilium as the CNI for my Talos Kubernetes cluster. In this post, I’ll walk you through my decision-making process, compare Cilium with other popular CNIs like Flannel and Calico, and explain why Cilium is the key to unlocking a production-grade networking experience in your homelab.
As always, everything you see here is open source. You can find all the configuration files and code in my GitHub repository.
The CNI Showdown: Flannel vs. Calico vs. Cilium#
Before we dive into why I chose Cilium, let’s briefly compare the three most popular CNIs in the Kubernetes ecosystem.
Flannel: The Simple Starter#
Flannel is one of the oldest and simplest CNIs available. It’s designed to be easy to set up and provides a basic overlay network for your cluster.
- Pros:
- Extremely easy to install and configure.
- Good for beginners and simple use cases.
- Cons:
- Lacks advanced features like network policies.
- Performance can be a bottleneck due to its reliance on a simple overlay network.
For a homelab that aims to replicate a production environment, Flannel is too basic. It doesn’t provide the security and observability features that are standard in the enterprise.
Calico: The Network Policy Powerhouse#
Calico is a popular CNI known for its robust network policy enforcement. It uses BGP to create a non-overlay network, which can offer better performance than Flannel.
- Pros:
- Excellent network policy support.
- High performance due to its non-overlay network architecture.
- Cons:
- Can be more complex to configure and troubleshoot than Flannel.
- Relies on traditional networking principles, which can be less flexible than newer technologies.
Calico is a solid choice and a significant step up from Flannel. However, it’s the next contender that truly brings the future of cloud-native networking to the table.
Cilium: The eBPF-Powered Future#
Cilium is a modern CNI that leverages the power of eBPF to provide networking, observability, and security. eBPF allows Cilium to operate directly within the Linux kernel, offering significant performance and security advantages.
Pros:
- eBPF-Powered: High performance, low latency, and efficient use of resources.
- Rich Security Features: Advanced network policies, identity-based security, and transparent encryption.
- Deep Observability: Hubble, Cilium’s observability platform, provides detailed insights into network traffic.
- Service Mesh Capabilities: Can replace a traditional service mesh like Istio for many use cases.
Cons:
- Requires a modern Linux kernel (which is not an issue with Talos).
- Can have a steeper learning curve due to its advanced features.
Why Cilium is the Perfect Fit for a Production-Grade Homelab#
For a homelab that aims to mirror the capabilities of an enterprise environment, Cilium is the undisputed winner. Here’s why:
It Feels Like Production: Cilium is used by major enterprises and cloud providers. By using it in my homelab, I’m gaining experience with a tool that is at the forefront of cloud-native networking. This aligns perfectly with my goal of bridging the gap between enterprise and homelab.
Unmatched Performance: eBPF allows Cilium to bypass traditional networking stacks and provide a direct, high-performance path for network traffic. This is crucial for running latency-sensitive applications, even in a homelab.
Advanced Security Out of the Box: With Cilium, I can enforce granular, identity-based network policies. This is a huge step towards a Zero Trust security model, a concept I’ve implemented in many enterprise environments.
Hubble: Observability on Steroids: Hubble provides incredible visibility into the network traffic in my cluster. I can see exactly which services are communicating, what protocols they are using, and whether any connections are being dropped. This is invaluable for troubleshooting and understanding the behavior of my applications.
Installing Cilium on Talos#
As I documented in my previous posts on building a Talos Kubernetes cluster, Talos is a modern, secure, and minimal OS for Kubernetes. Installing Cilium on Talos is straightforward, but it requires a few specific configuration steps to ensure everything works seamlessly.
Here’s how I did it in my homelab. All the configuration files mentioned here are available in my GitHub repository.
Step 1: Disable the Default CNI and kube-proxy in Talos#
Cilium replaces the functionality of kube-proxy and provides its own CNI, so we need to disable the defaults in our Talos cluster configuration. This is done by creating two patch files.
First, create a patch to disable the CNI:
# patches/cni.yaml
cluster:
  network:
    cni:
      name: none
Next, create a patch to disable kube-proxy:
# patches/disable-kube-proxy.yaml
cluster:
  proxy:
    disabled: true
Then, reference these patches in your Talos cluster template. This ensures that your nodes are provisioned without a default networking layer, ready for Cilium.
# cluster-template/k8s-dev-dhcp.yaml
kind: Cluster
name: k8s-dev-dhcp
# ... other configuration
patches:
- name: no-cni
file: patches/cni.yaml
- name: disable-kube-proxy
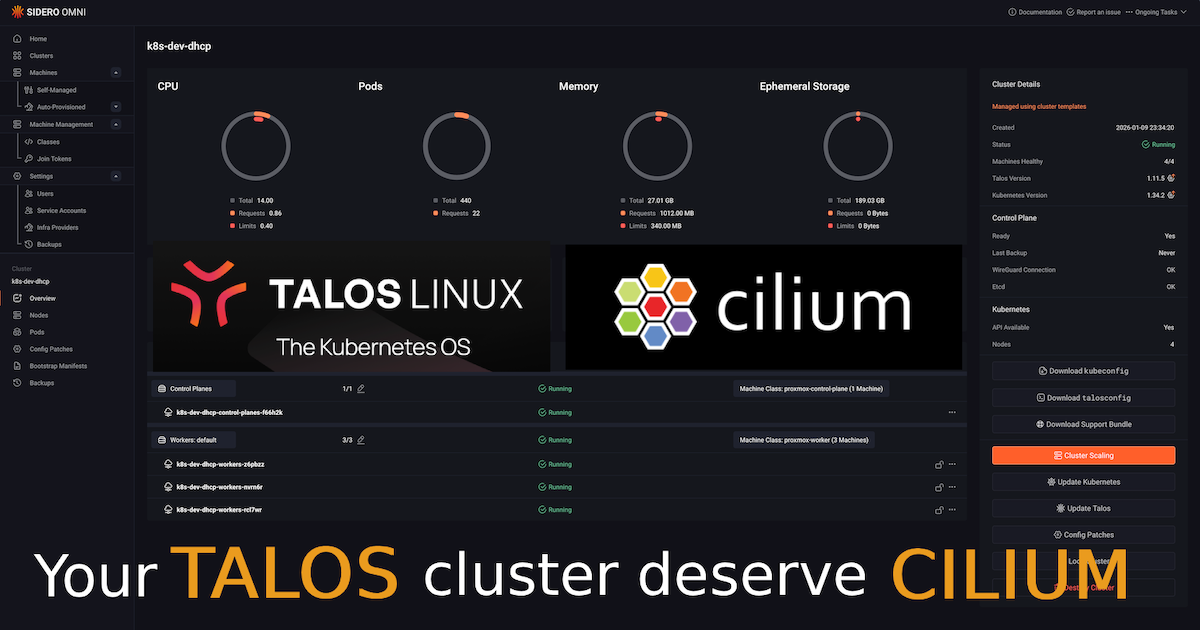
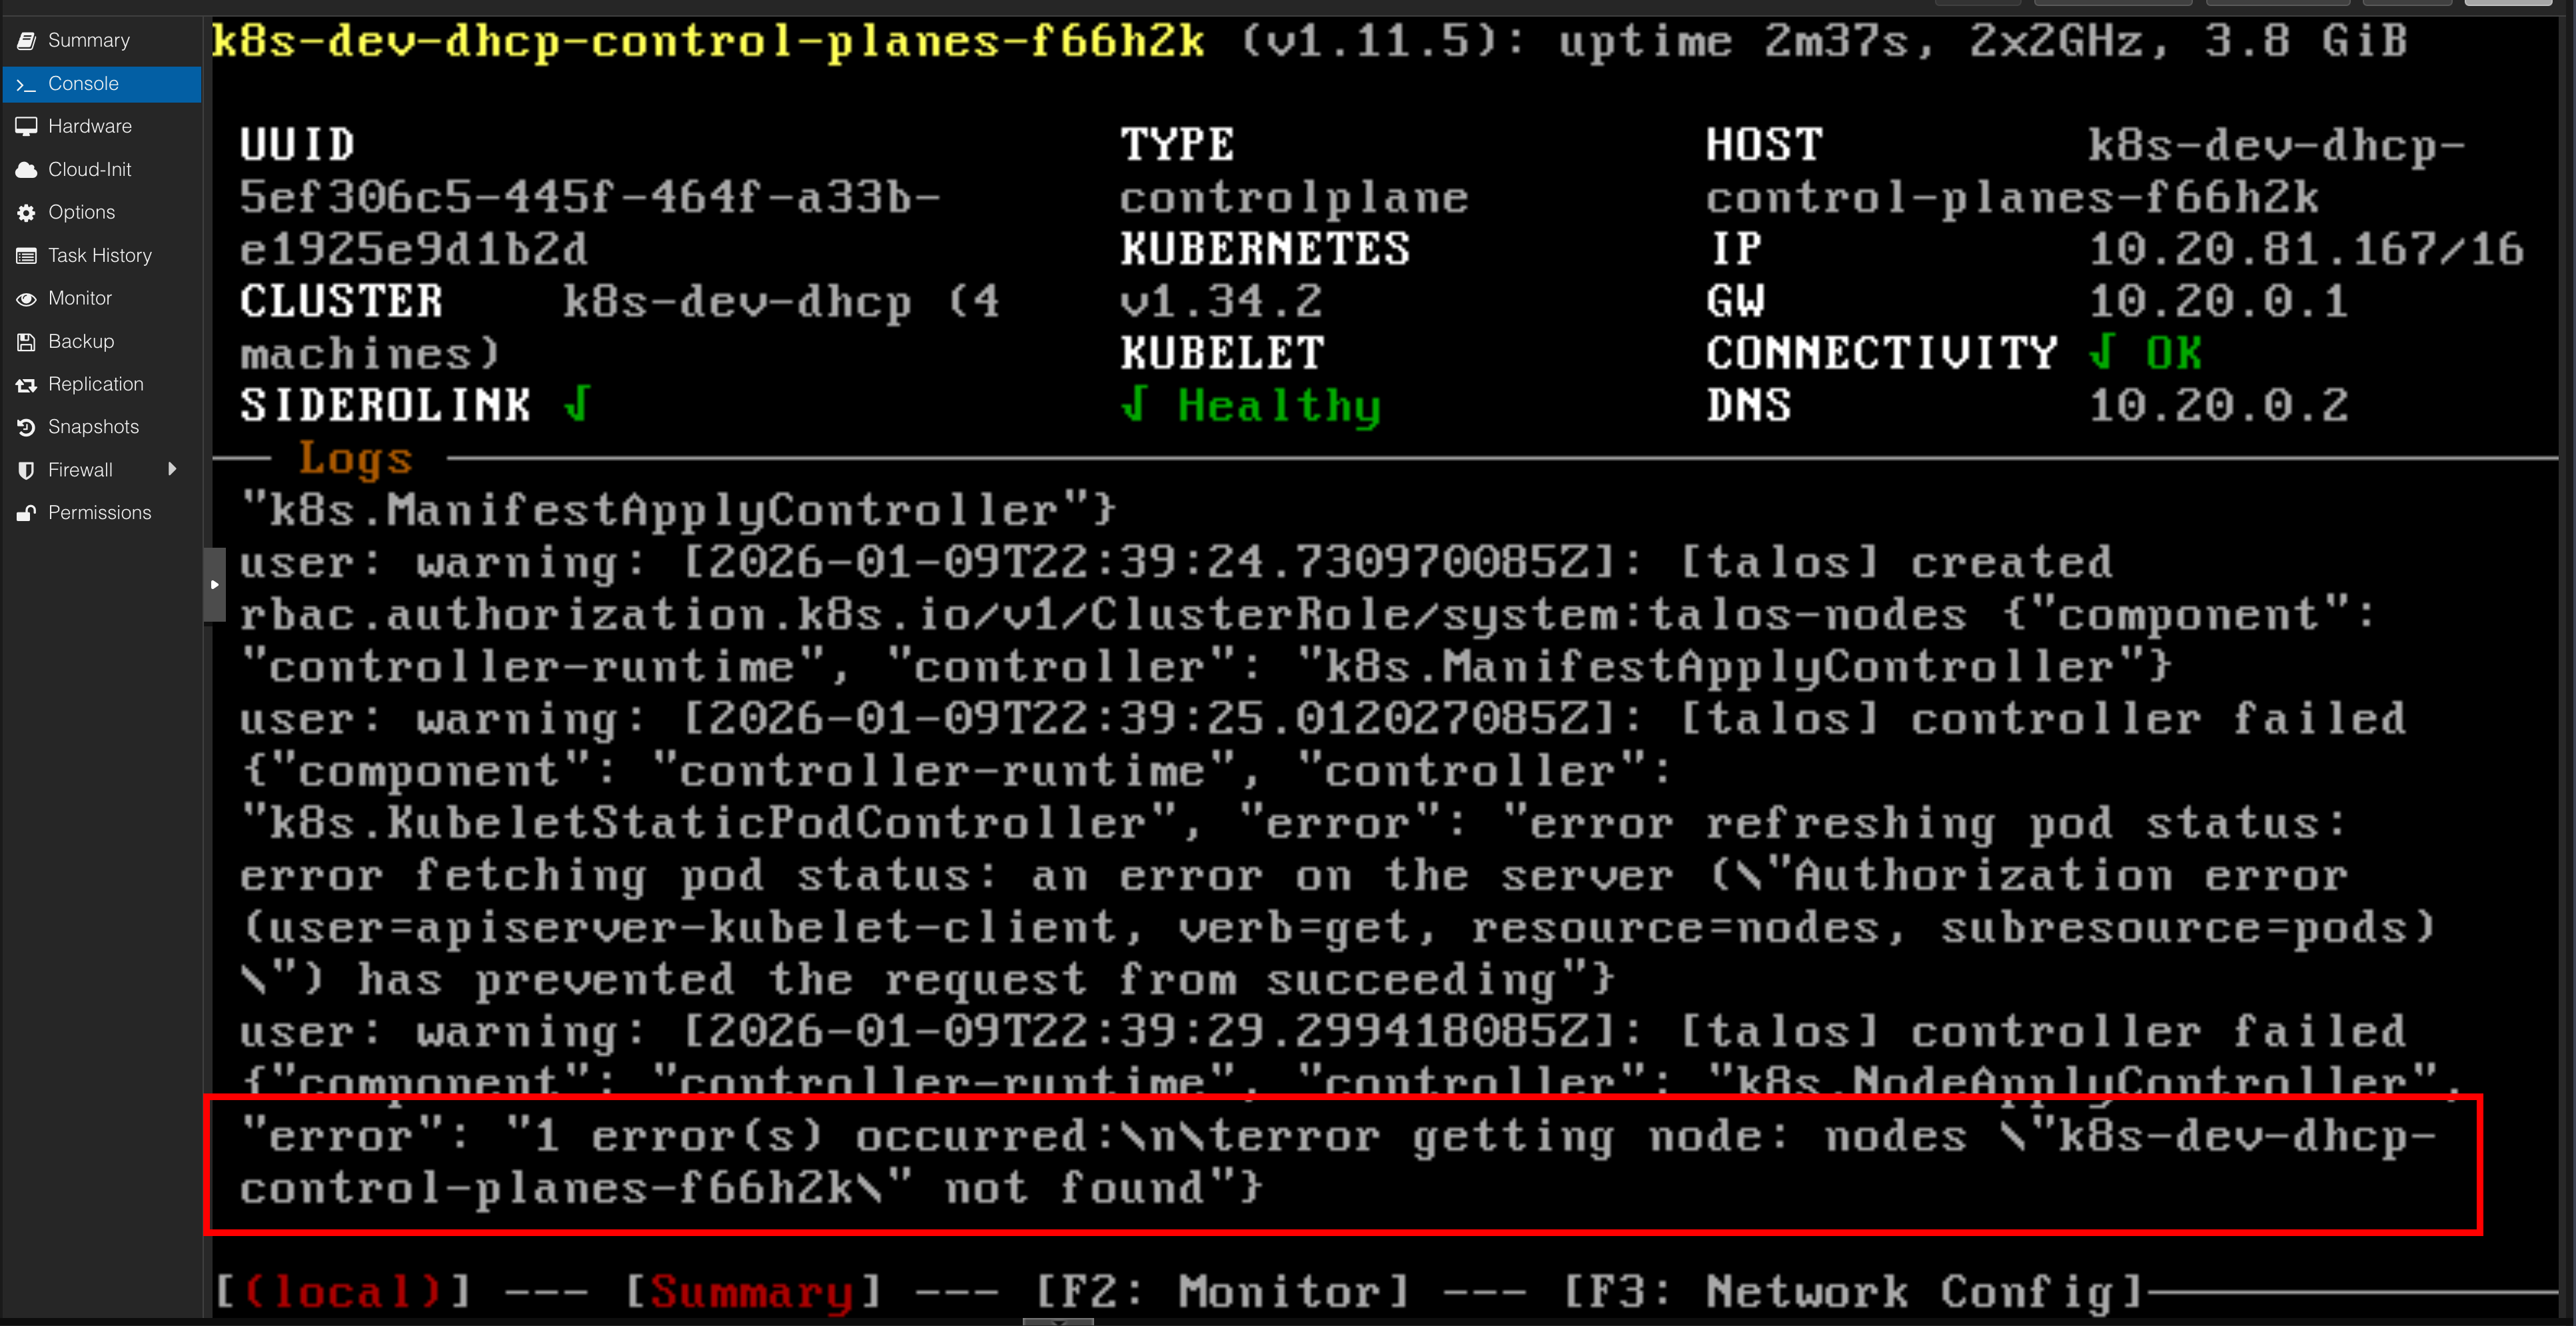
file: patches/disable-kube-proxy.yamlAfter applying the cluster template, your nodes will appear as “Not Ready.” This is expected behavior because Kubernetes nodes are only marked as ready once a CNI is running.


Step 2: Install Cilium with Helm#
With the cluster prepared, the next step is to install Cilium using Helm. This command installs Cilium with kubeProxyReplacement enabled, which is the key to unlocking its eBPF-powered performance.
helm install \
cilium \
cilium/cilium \
--version 1.15.1 \
--namespace kube-system \
--set ipam.mode=kubernetes \
--set kubeProxyReplacement=true \
--set securityContext.capabilities.ciliumAgent="{CHOWN,KILL,NET_ADMIN,NET_RAW,IPC_LOCK,SYS_ADMIN,SYS_RESOURCE,DAC_OVERRIDE,FOWNER,SETGID,SETUID}" \
--set securityContext.capabilities.cleanCiliumState="{NET_ADMIN,SYS_ADMIN,SYS_RESOURCE}" \
--set cgroup.autoMount.enabled=false \
--set cgroup.hostRoot=/sys/fs/cgroup \
--set k8sServiceHost=localhost \
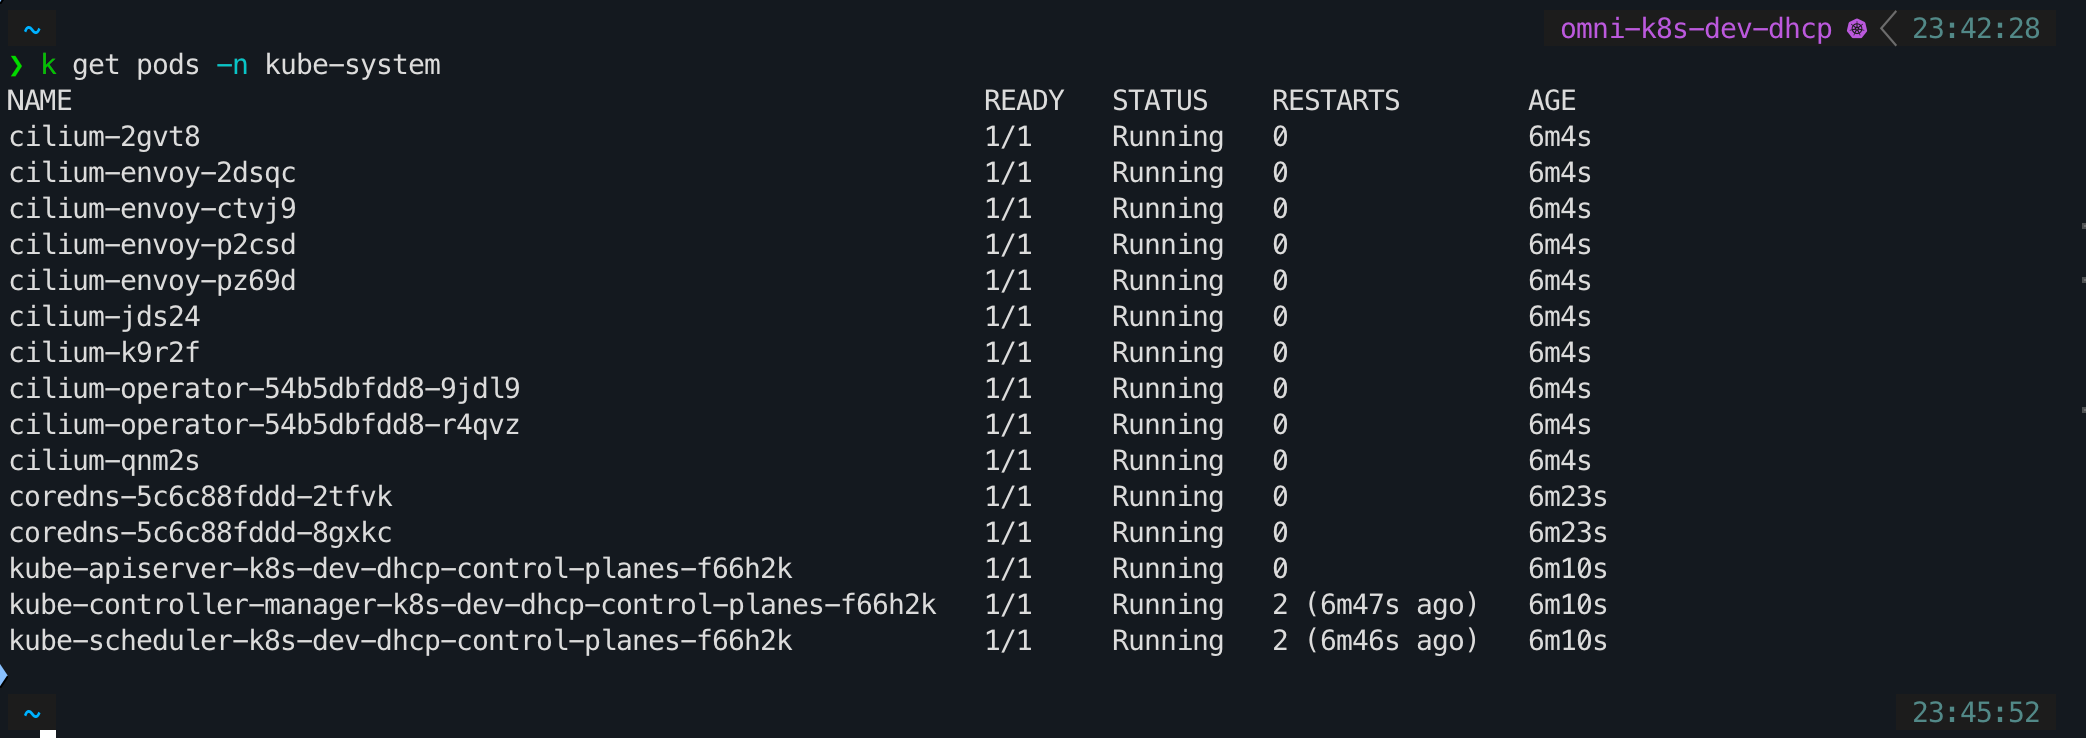
--set k8sServicePort=7445After running the Helm command, it will take a few minutes for the Cilium pods to be deployed and become operational. Once they are running, your Kubernetes nodes will transition to a “Ready” state, and your cluster will be fully networked with Cilium.


Conclusion: A Foundation for GitOps-Managed Networking#
By choosing Cilium, I’ve laid a networking foundation that is not only powerful and secure but also aligns with the latest trends in cloud-native technology. It’s a choice that reinforces the “enterprise-to-homelab” philosophy that drives this blog.
With the CNI now in place, the next logical step is to bring it under the control of our GitOps workflow. In my next post, I’ll walk through the process of installing Argo CD and configuring it to manage Cilium. This will complete the loop, allowing us to manage our cluster’s networking declaratively, just as we would in a production environment.
Stay tuned. Andrei